Article Number: 14 | VC6 | VC5 | VC4 | VC3 | Post Date: April 8,2024 | Last Updated: June 10, 2021
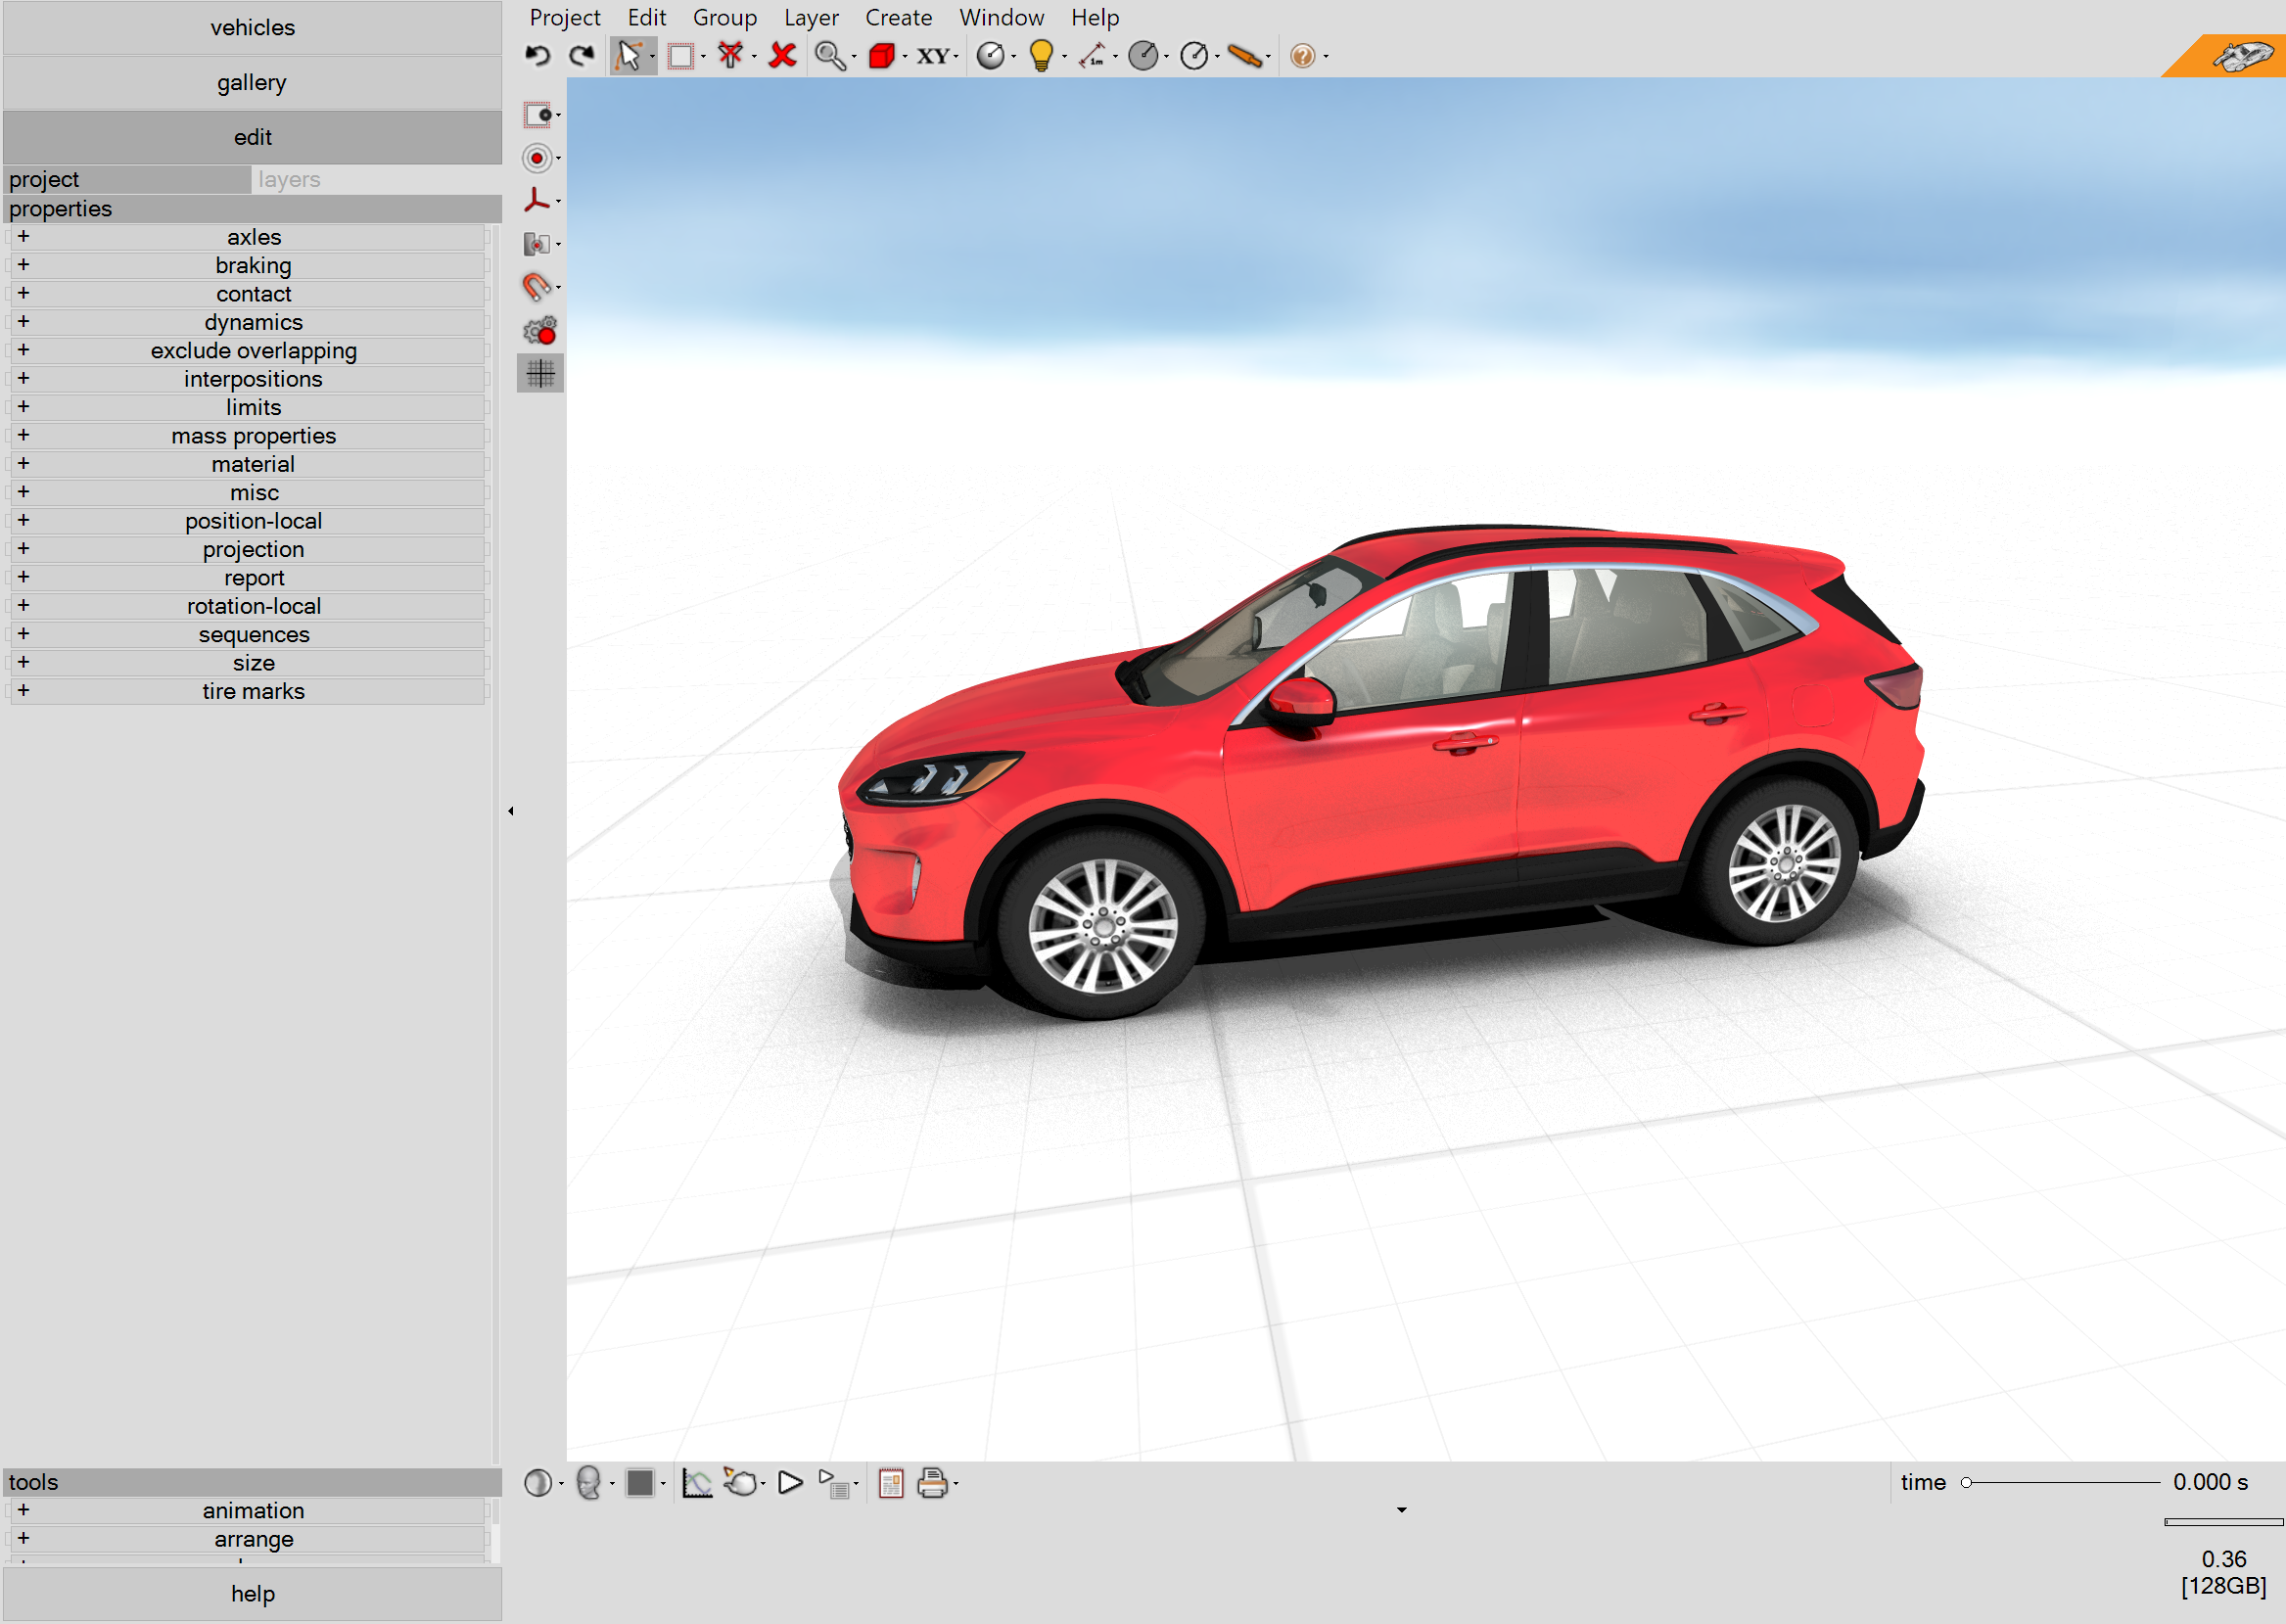
When I render my animation, a large glare appears on my vehicle's window as it travels along its path. Is there a way to turn this off?
When this occurs, it’s due to rays of light from one of the light sources within the 3D environment reflecting off of some of the vehicle mesh polygons at just the angle needed to redirect them to the camera. There are a few methods to reduce or eliminate this effect. These are described below.
Method 1 | VC6 Users | Modify Roughness
Glass material pre-defined: If the vehicle already has glass material defined in the material menu, simply increase “roughness” for the glass material. See the User’s Guide (VC6) for more detail on material settings. On the left below we see glare on the driver side window. On the right the glare is removed.
Glass material not pre-defined: (1) First switch to elements selection type (Shift+E). (2) Left-click on the windows. (3) Open the material menu, left-click “new”. Specify the glass material properties as needed. See the User’s Guide (VC6) for more detail on material settings.
Method 2 | VC5 Users | Modify Specular Color
Glass material pre-defined: If the vehicle already has glass material defined in the material menu, simply select a darker color from the “specular color” drop down. See the User’s Guide (VC5) for more detail on material settings. On the left below we see glare on the driver side window. On the right the glare is removed.
Glass material not pre-defined: (1) First switch to elements selection type (Shift+E). (2) Left-click on the windows. (3) Open the material menu, left-click “new”. Specify the glass material properties as needed. See the User’s Guide (VC5) for more detail on material settings. On the left below we see glare on the driver side window. On the right the glare is removed.
Method 2 | VC5 and VC4 Users | Adjust Environment Lighting
If glare is caused by the environment light, considering adjusting the angle or position of the primary environment light. This can be done the environment menu, as described in the User’s Guide (VC5 | VC4).
Method 3 | VC5,4,3 Users | Adjust the camera’s position or angle
Often times slightly adjusting the camera’s position or angle can eliminate glare.
Method 4 | VC4 and VC3 users | Disable specular highlights by modifying the shader file
For VC4 and VC3 users, if specular highlights must be removed, this can only be accomplished by brute force. Go to your installation area of Virtual CRASH, and locate the /data directory. There you’ll find the file “default.shd.”
Make a copy of this file and save it somewhere on your hard drive in case you forget how to roll back your modifications once you've completed your final render.
Next, open default.shd using a text editor like Notepad. Locate the third line from the top. These are properties related to specular highlights.
Set all values to 0.0.
Save the file and reopen Virtual CRASH. Note, depending on your permission settings, you may need to first save to an alternate location like your Desktop, then drag and drop the file into the /data directory.
You should no longer see specular highlights in your animation.
Tags: Specular highlight, specular color, glare, light reflection.
© 2021 Virtual CRASH, LLC. All Rights Reserved


