

Blog | The CSF Filter
Do you use point cloud data to help produce your 3D environments in Virtual CRASH? If so, this blog post is for you. Below, we’re going to discuss a fast and easy way to simplify your 3D environment builds with point cloud data by using CloudCompare’s Cloth Simulation Filter (“CSF Filter”) plugin (created by Zhang et al). You can download CloudCompare at the link below.
The steps reviewed in this post are also shown in the video down below.
First, we’ll start by importing our Pix4D assets into Virtual CRASH 5. Select the world files in the windows file explorer and drag and drop them into Virtual CRASH.
Enter the appropriate settings into the import dialog box, press ok, and your point cloud and image assets will import into your scene, automatically aligned and scaled.
You can learn more about importing single or multiple orthomosaic image tiles into Virtual CRASH at this link: https://www.vcrashusa.com/blog/2021/2/22/importing-single-orthomosaics-and-orthomosaic-tiles-into-virtual-crash-4-and-5
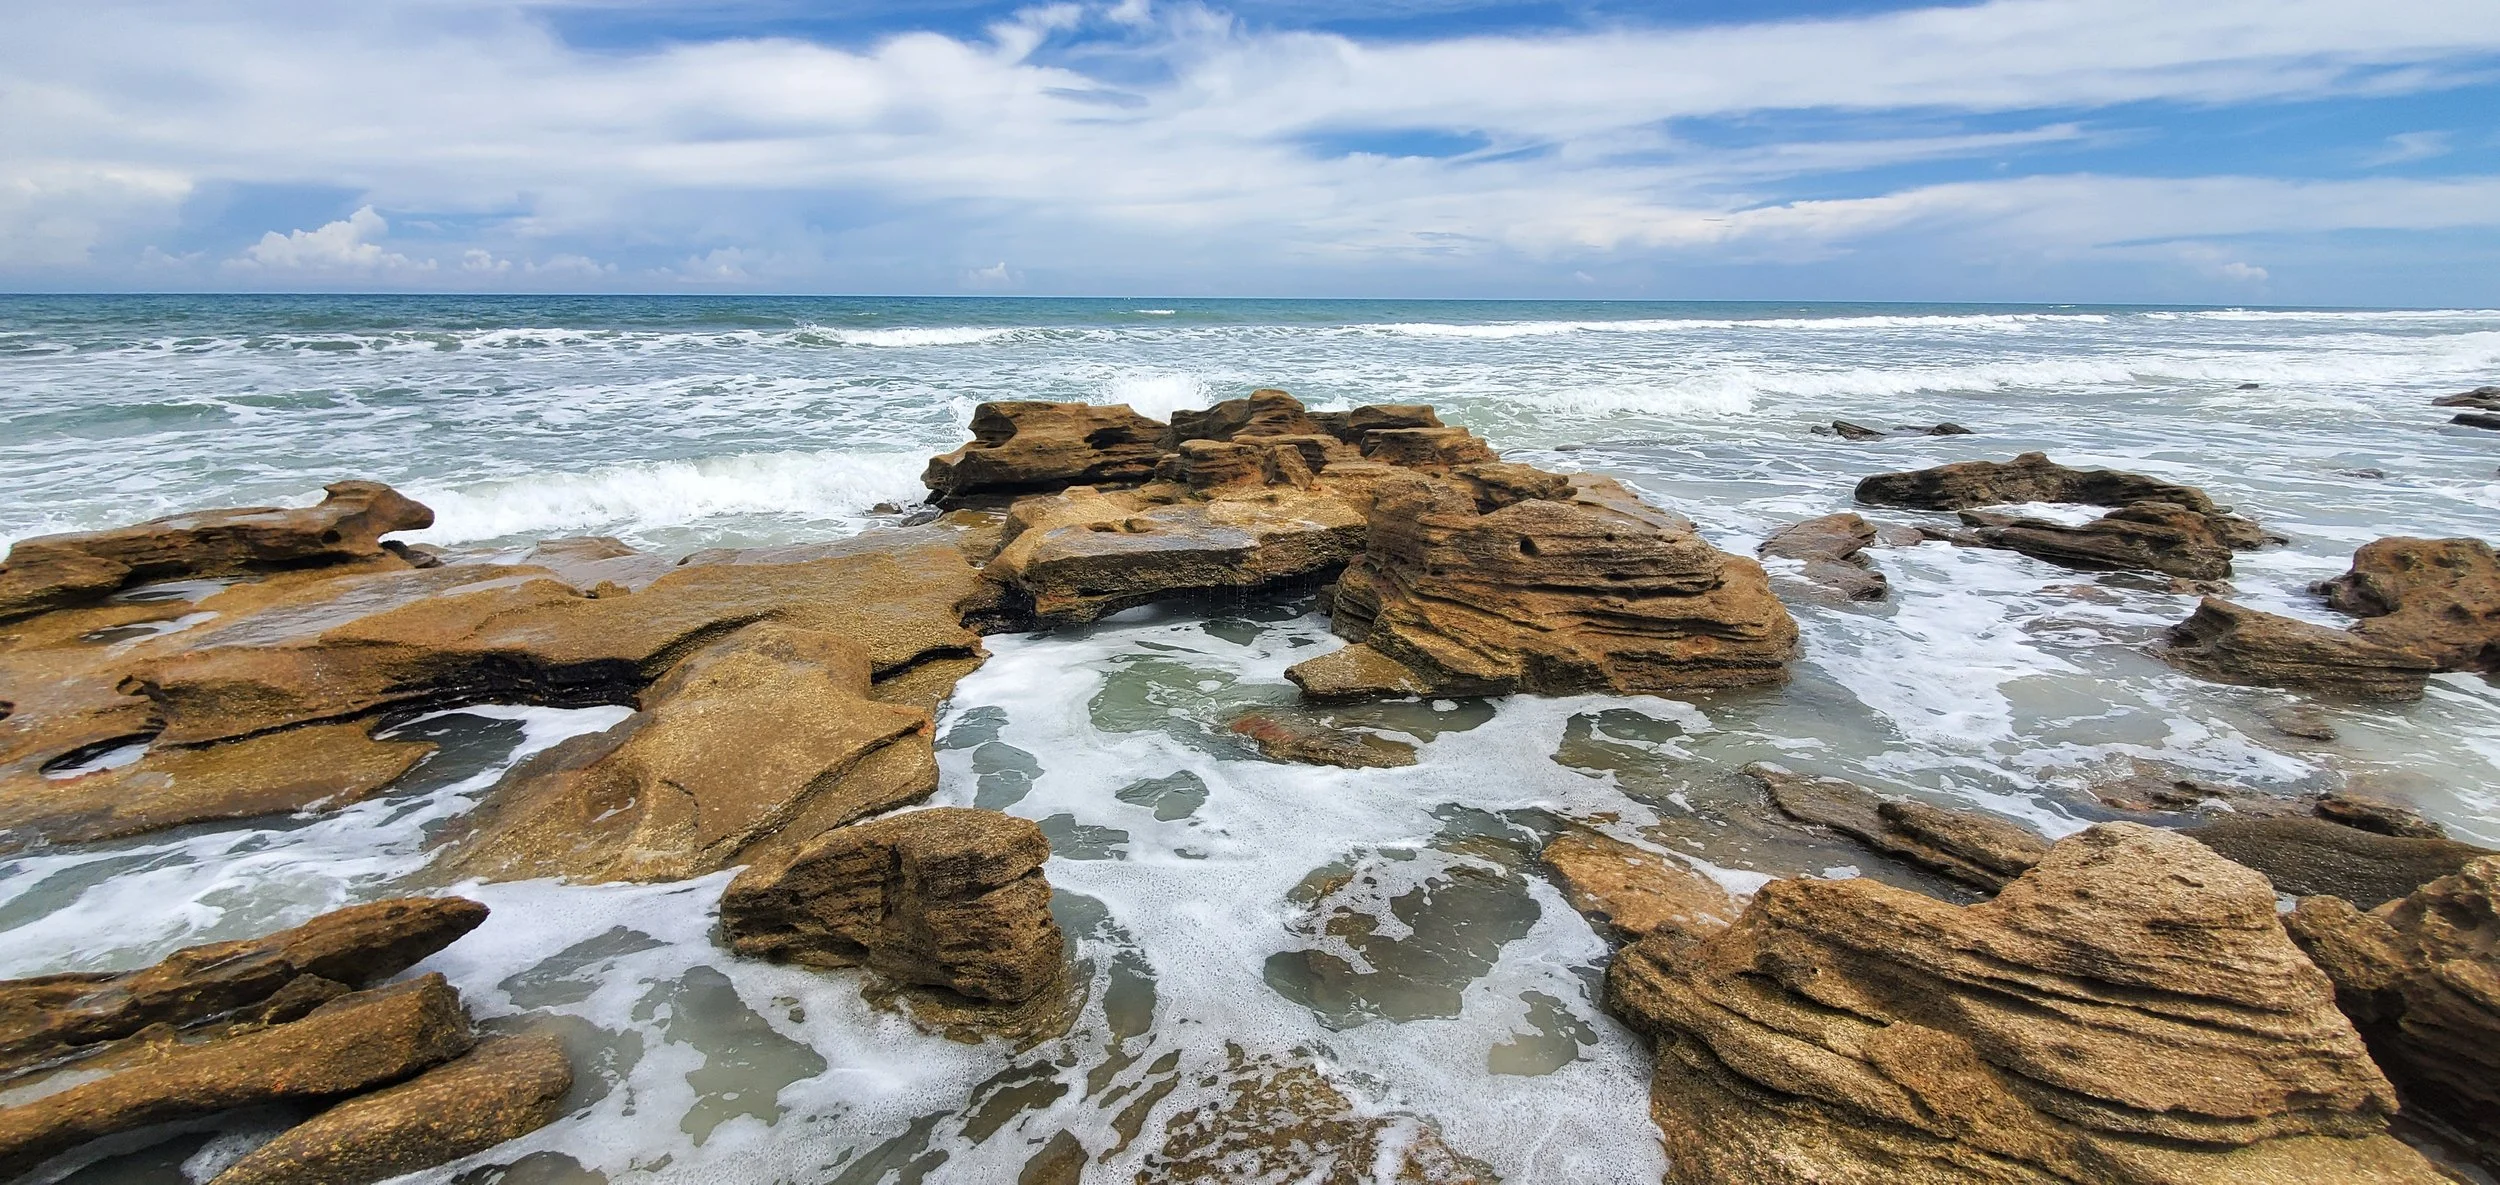
Our objective is to create a terrain mesh with the Easy Surface Builder, but only using the ground points. We want the off-ground points to remain visible in our final environment build, but the ground points to be hidden. For complex terrains, such as those with buildings, trees, signs, and other structures, this process is made a bit easier if we separate our ground points from off-ground points using Cloud Compare’s Cloth Simulation Filter.
Let’s, drag and drop our full point cloud into CloudCompare.
Ensure that CloudCompare has correctly identified your file format and press apply all.
If asked to translate because coordinates are too big, just press yes to all.
Once in CloudCompare, left click to rotate, right click to translate, and use your scroll wheel to zoom in and out.

Now we’re ready to use the Cloth Simulation Filter. The Cloth Simulation Filter works by inverting the point cloud and dropping a simulated cloth model onto the points. The cloth is allowed to settle as gravity fights against internal cloth tension over many iterations. The filter then classifies points as on the ground if they fall within a specified distance from the simulated cloth, otherwise they are classified as off ground.


You can find more information about how the Cloth Simulation Filter works at the follow links:
https://www.cloudcompare.org/doc/wiki/index.php?title=CSF_(plugin)
Go to the left side and left-click on your point cloud.
Next, go to Plugins and left-click CSF Filter.
The filter requires four input parameters: first is the type of terrain, steep, relief, or flat - this essentially controls the simulated cloth rigidity. The cloth is made more rigid for flat surfaces and less rigid for steep terrains. Note: try enabling “Slope processing” if the CSF Filter misses fine detail such as drainage ditches or other features that cause abrupt changes in the true surface geometry.
Now we go to the advanced parameter setting tab. The next input parameter is the cloth resolution. This controls how coarse or fine the simulated cloth will be. A value of 1 or 2 units works well in many cases. Next is the number of iterations used to allow cloth to settle into the inverted point cloud – this typically doesn’t need to be changed from the default value. The final parameter is the classification threshold. This is the maximum distance away from the simulated cloth within which the points are classified as ground points. If you want to see the simulated cloth surface, enable export cloth mesh. Once you’ve finalized your settings, press “OK”.

To the left in the database tree list, we see the results. Here we have the ground points, the off-ground points, and the cloth simulation mesh.
We’ll just hide the off-ground points from view and look for any large holes in our ground points, which may indicate our CSF filter settings need to be fine-tuned. Uncheck to the left of the name to hide an object in CloudCompare’s DB Tree.
Upcoming In-Class Training Opportunities

You can simply left-click on the CSF filter group object and delete it.
Left-click on the original point cloud, and apply the CSF filter again. Here we’ll see if using a smaller number for the cloth resolution input setting adds enough fine detail to the cloth simulation to improve the classification of ground points.
Now we have much better separation between the ground points and off-ground points.
Next, we’ll clean up our off-ground point sample using the segment tool. Our objective here is to remove points that would be floating above the road in our final production.
Simply left-click on the off-ground points and select the segment tool.
Select the type of lasso you want to use.
For a polyline lasso, left-click to define the shape of the lasso. One finished, right-click.
Select either “Segment In” or “Segment Out” option (it doesn’t really matter which) and left-click on the green check mark icon.
The selected points are moved into a new point cloud which can be deleted. Continue this process until you’re satisfied with the off-ground points remaining. Be careful not to delete the wrong point cloud, because there is no undo.
If you see misclassified points, you can use the segment tool to separate them as well. You can either delete these points or merge them back into the proper point cloud. To merge them once separated, left-click the misclassified points, and control left-click either the ground or off ground points, then go to Edit > Merge, to place the misclassified points back into the proper point cloud. Continue this process to correct any misclassified points by merging.
You can double left-click on the point cloud’s name in the database tree list, and change the name as needed. Here we’re labeling one point cloud as off ground points and the other as ground points.
Now left-click on the off ground-points and go to File > Save.
Change the save as type to ASCII and press “Save”.
Change the order to ASC and press “OK”.
Next, repeat this process to save the ground points.
Now, return to Virtual CRASH. Drag and drop the two new point clouds into the scene. Remember to use the same settings as you did for the full point cloud.
Once loaded, rename the two new point clouds.
Now, left-click on the full point cloud in the project menu to select it.
Open the reference point menu in the left-side control panel and left-click on the “copy” button.
You can learn more about reference points here: https://www.vcrashusa.com/blog/2019/7/16/all-about-reference-points
Next, select the two new points clouds.
In the reference point menu, left-click on paste.
You should see the two new point clouds snap to alignment with the full point cloud and, more importantly, the imagery data.
Now you can freeze and hide the full point cloud, or delete it, since it will not be used for the final production. Freeze and hide the off-ground points. Select the ground points.
Go to the object selection type drop down menu, and select the Easy Surface Builder tool.
Enclose all the points with the bounding box, since the ground points will be hidden after creating your mesh. Adjust the settings as needed in the surface menu.

Left-click on the create button in the surface menu.
You’ll see the terrain mesh appear in the project menu.
You can find more information about the Easy Surface Builder at this link: http://www.vcrashusa.com/guide-chapter20/#Pointcloudsurface
Select the mesh and enable receive projection to see the imagery data and any cad elements project onto the mesh. Rename the mesh.
Go to create > physics > make unyielding / terrain from selection. Freeze the mesh. Now you can place vehicles on the mesh and simulate, animate , or use the linear momentum tool.
Unhide the off-ground points.
See the video below for a review of all the steps:
